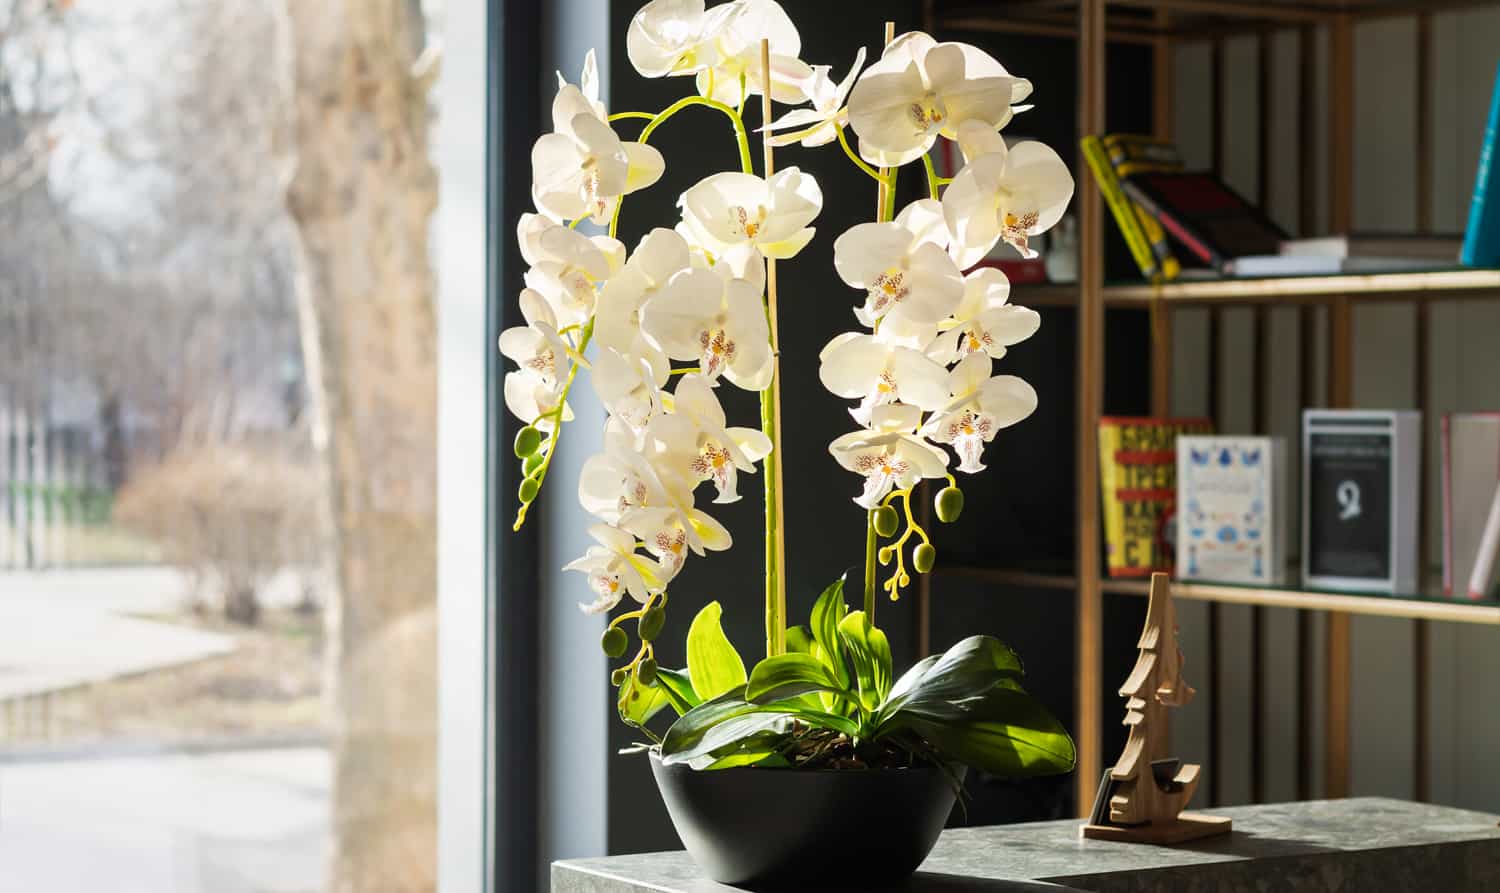
Did you know that you can rebloom your Phalaenopsis?
It requires patience and time, but it is definitely worth it!
Once your orchid has completed its blooming cycle, many people opt to start fresh with a new Freytag's Florist orchid. However, if you're inclined to experience the reblooming process, Phalaenopsis orchids are the most user-friendly for achieving this at home. Other orchid varieties can be challenging or nearly impossible to rebloom outside of a greenhouse, they still serve as attractive foliage plants, offering an alternative to discarding them.
1: Fertilize every month.
After the final flower of your Phalaenopsis orchid falls, initiate a monthly fertilization routine using an orchid-specific fertilizer, adhering closely to the guidelines provided by the manufacturer. Keep your orchid in its existing spot, ensuring it continues to receive ample bright, yet indirect, sunlight.
2: Trim the flower spike (or not).
Once the blooms have fallen, revitalize your plant by carefully removing the entire flower spike. Use a clean razor blade, clippers, or sharp scissors for this, making the cut approximately 1⁄2 inch above the base of the plant. This technique not only promotes healthier and more vibrant blooms but also helps the plant focus on strengthening its root system. If the spike begins to yellow or brown, it should be removed. Apply this practice of cutting back the old flower spike to the base for all types of orchids.
3: Don't overlook watering.
Follow the care tag instructions for watering your orchid, typically every 10–14 days for regular Phalaenopsis orchids or every 7–10 days for mini Phals. Opt for less frequent watering, ensuring the potting medium is almost dry before adding water again.
4: Wait for a new leaf.
After trimming the flower spike, allow a few months to pass before prompting your orchid to spike again. The emergence of a new, fully developed leaf indicates that your orchid has recuperated and is ready for reblooming. This new foliage should match or exceed the size of the orchid's existing leaves.
5: Keep in cooler temperatures.
To encourage the growth of a new flower spike on your orchid by situating it in a cooler spot, where nighttime temperatures hover between 55–65°F. An effective strategy might include positioning your orchid near a window that is not close to a heating source. The cooler indoor temperatures and window settings during winter often make it the ideal season for the emergence of new flower spikes.
6: Look for a new flower spike.
Expect the development of a new flower spike to take around a month, which will appear as a vertically growing root with a rounded, mitten-like end. When you notice the spike beginning, move the orchid back to its regular spot, ensuring the area has a moderate temperature of 65–75°F and receives plenty of bright, but indirect, sunlight. Over the next few months, the spike will extend upwards, eventually blooming into new flowers. Support the spike with a stake and a gently tied loop once it reaches about 5 inches in height. If no new spike emerges after several months, try changing the orchid's location to somewhere with more suitable lighting or cooler conditions.
7: Maintain your orchid.
Maintain your usual watering and fertilizing routine. It's important to keep your orchid stationary to prevent the blossoms from twisting, which could spoil their elegant, natural arch. Many Phalaenopsis orchids are capable of producing one or two new flower spikes each year. Relish in the nurturing process!


